Our Outdoor Paradise
Building a Pergola
Yes...We Survived

Oh. My. Goodness, guys...we survived, quite possibly, the biggest project that we will personally do for our home. Let me just break down for you the entirety of this project and all that was done because I am truly impressed with my husband's handy work and how everything turned out.
As many people receive their stimulus checks (that we ALL KNOW we will have to pay back in some way), Lowes and Home Depot were busier than I have ever seen. I know this because we were there spending our stimulus money to improve our home. We figured the best way to invest that money would be to improve our living space should any shutdowns happen again. Plus, we want to make our home a place that we can truly enjoy for years to come.
What We Did First
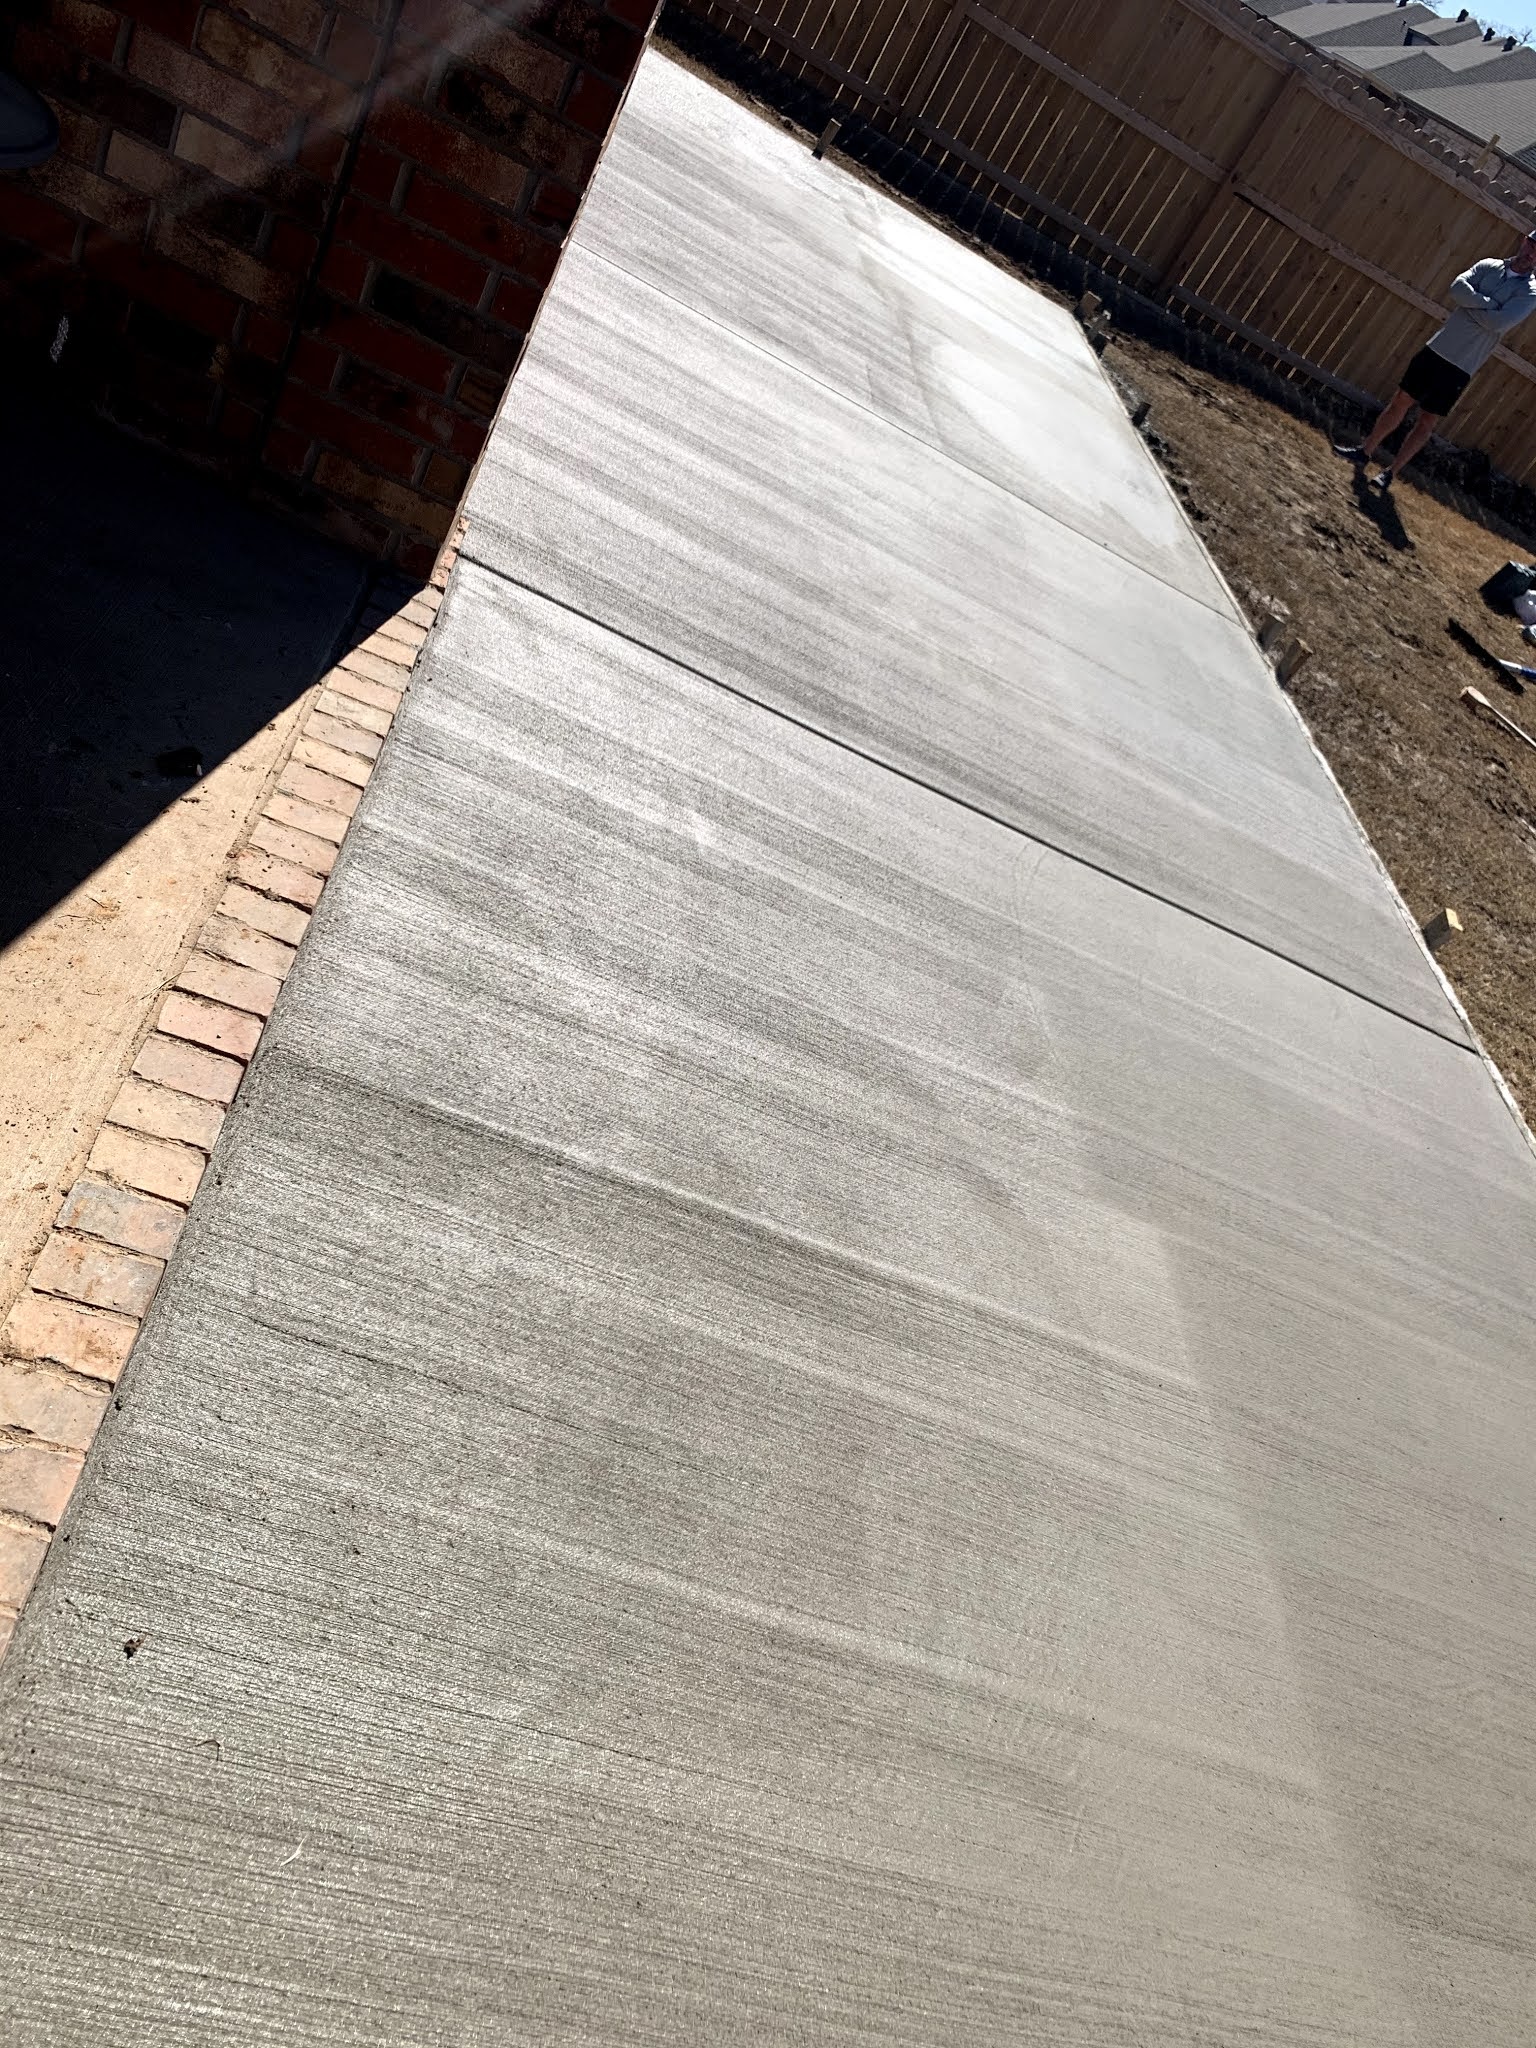
We were left with an itty bitty-covered patio that barely fit two chairs and the cheapest charcoal grill you could get from Walmart when we purchased our home. So it was here that we decided we needed a concrete pad. We debated the cost difference between building a deck vs. a concrete pad. While a deck of the same size would be about $300 less, it wasn't worth us having to do all the work and the long-term maintenance cost.
We got FOUR estimates from concrete contractors. Y'all, I cannot express how important it is to get between 3 and 5 different estimates. Those who really want the job or are the most honest will price the best.
Estimate 1: $3200
Estimate 2: $3500
Estimate 3: $5400!!! (Uhhhh....no, thank you...)
Estimate 4: $2100 WINNER WINNER WINNER!
Building the Pergola
This was quite the undertaking! My husband is an amazing handyman and was the project lead on this particular backyard renovation. We determined in our last project, after much argument, that there needs to be a project lead when we do these things; otherwise, it gets ugly. We are both incredibly hard-headed and stubborn, so we both think that projects need to be done the way we think they need to be done. Nuff said...
The Plan For the Pergola
Here's the deal, we didn't have a "plan" per se. What we did do was randomly stop at places that had pergolas and scour Pinterest to figure out how we wanted to build this thing. Overall, the construction of this thing is relatively uncomplicated, but there are a few tips and tricks to help you save money along the way and avoid expensive fixtures.
- Don't waste your money on expensive fixtures! The black fixtures you see in the images below were the basic metal-looking ones for construction that we spray painted black. When you begin looking to build one of these, you will find fixtures that are easily between $50 and $200 a piece!
- Spend the extra money where it will count. We could have used 4x4 posts to hold this thing up, but we decided that the support, sturdiness, and overall appearance were places we did not want to skimp on. I am so glad that we spend the extra to go with the 6x6 posts.
- We LOVE the clear corrugated roof! I really waffled back and forth over the clear corrugated roof. However, we have already enjoyed many days sitting out there listening to the rain.
- Give yourself grace. You WILL make multiple trips to the store no matter how prepared you think you are.
- Go ahead and invest in good tools.
- You will absolutely need a hammer drill to be able to drill holes into the concrete. This is to secure the post bases to the concrete and them to the actual wood post.
- If you do not have it already, get a circular saw and an extra blade.
- You will need LOTS of construction screws.
- Spare the extra change for drill bits...you will go through them.


Comments
Post a Comment